In this post we build on the last post of creating the VM. We will now install the VyOS router.
Most people know how to setup a vm, so here we focus on the installation of the router software on the vm.
VyOS software installation
Power on the vm and when you get the VyOS splash screen press enter to boot

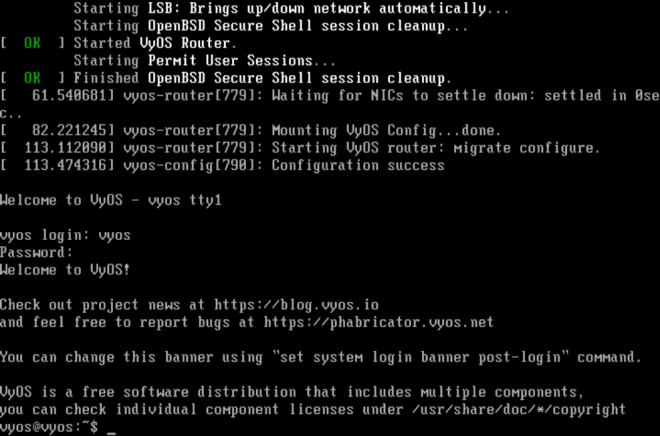
Once it is booted log in by entering “vyos” for username and “vyos” for password
Next run the command “install image” and press enter:

Press enter again to accept the default choice to continue.

You are prompted for the partitioning of the hard disk, accept auto by pressing enter.

Accept the default of sda, there is only one drive in this config. Accept the default size. File system is created and then once you accept the image name the files are copied across to the hard disk.

For the config file accept the default by pressing enter.

Next set a password for the vyos user.

Accept the location of GRUB (Boot loader) by pressing enter.

Now type in “poweroff” and answer ‘y’ when prompted. That’s it VyOS is now installed.
Once powered off go to edit the vm and remove the iso as boot option, untick the “connect at power on” and set the connection to use “physical drive. Press ok to close the virtual machine settings again and power on the VM.

That is it, we have ourselves a router. Next it is time to configure the router.
Adding interfaces (IF) to the router
Next we need to configure the router interfaces. For this we need to edit the vm again and select add at the bottom of the edit screen.
In our case we need to add 4 more interfaces. The first IF should be NAT and belong to the eth0 interface that was there when we installed.
The next interfaces we need to add according to the below. We are interested in Interfaces that connect to VMnet 11-12 and 15-16. For the 13-14 we are not interested as this is for storage traffic and is not required.

The interfaces should be assigned as in the table below:

You edit the VM and add the NICs one by one as shown here:

Basically add, and then select custom and match it to the VMnet adapter and press ok.
Normally you would have had the interfaces on a straight line but after the router installation I ran the show config and I could see that router interfaces were not matching to the MAC addresses hence the re-ordering.

You can verify the MAC addresses of the router by going to edit the vm settings and checking each interface as below here, select a NIC adapter, hit the advance button (red arrow), then note down the MAC address (green arrow).
